


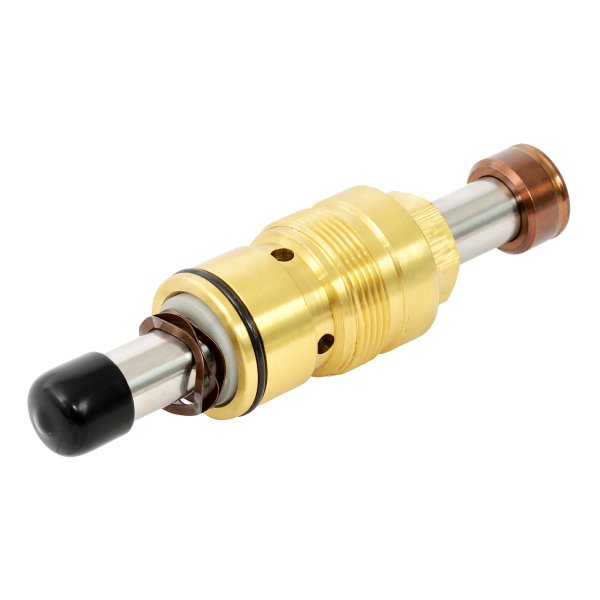
ProXchange Pump Repair Kit
LJ106490
Trade customer? - log in to get your prices. close
Ideal when it comes to cutting the cost of labor due to its fast and easy replacement.


Share...
In detail
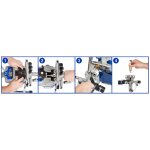
Graco ProXchange pump repair kit is ideal when it comes to cutting the cost of labor due to its fast and easy replacement. Follow the super simple 4 step procedure to replace the pump. The Graco ProXchange pump repair kit is suitable for both Graco GX21 and GXFF airless sprayers.
Pressure Relief Procedure
Turn off and unplug your sprayer, engage the trigger lock. Turn the pressure control knob to the lowest setting and put drain tube into a waste pail. Turn prime / spray knob down or flip the leaver away from the sprayer to the prime position to release pressure. Hold the gun firmly to a pail, disengage the trigger lock and trigger the gun to relieve the pressure.
Disassembly
- Always perform the pressure relief procedure before starting any pump repairs.
Remove the airless hose, if necessary remove the suction tube. Pull the tabs on the sides of the easy access door towards you and slide the door away from the inlet end of the pump. Now lift the easy access door so that it swivels out of the way, slide the pump assembly off the mounting pins. Remove the entire packing assembly from pump housing including the packing spring.
Assembly
- On the new pump, remove the protective cap from the end of the piston rod.
- While holding the pump body upside down, start threading the new packing assembly in by hand.
- Insert hex end of the pump into hex tool in the sprayer frame and tighten, slide pump assembly onto the mounting pins.
- Move the pump rod up or down until the cap is level with the opening in the yoke, push on the pump rod to slide the pump assembly back onto the mounting pins.
- Install hopper if it was removed and any hoses removed earlier
- Plug sprayer into a power source