

5 Top Tips To Help You Take Better Pictures Of Your Decorating

January 26th, 2024
Taking great pictures is a sure-fire
way to show off your skills, fill your social media pages or update your
website. With all of us having easy-to-use cameras in our back pocket, here are
some top tips to help you make the most of them and really showcase your work.
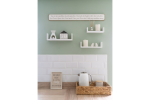
1. Subject
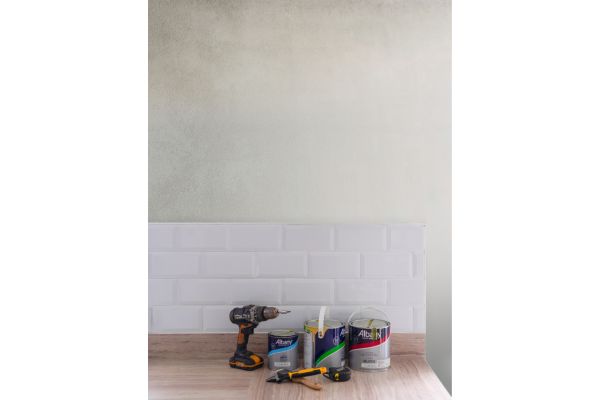
When taking the shot, make sure your workspace is clean and tidy – even for work in progress pictures!
Before, during and after shots can create a lovely narrative, and show how you have made a real difference to a space – this can really demonstrate your skills to potential customers who come across your work.
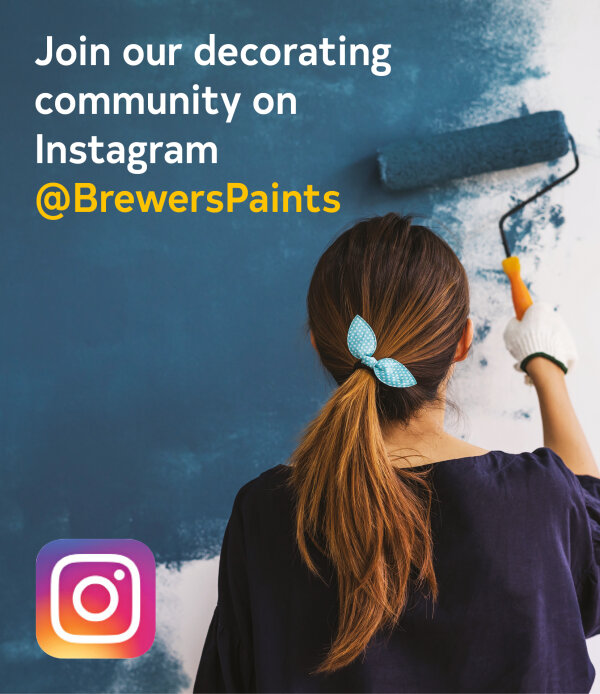
When sharing your
images on social media, be sure to tag any brand you use. At Brewers, we love
seeing our customers’ work and sharing your pictures! Tag us, @Brewerspaints.

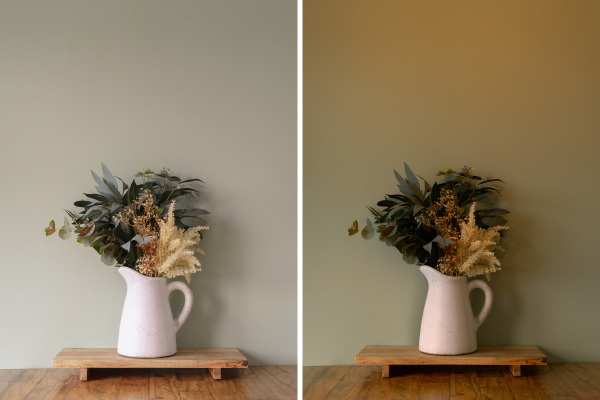
2. Lighting
When taking a photo, pay attention to the light source. Ensure the direction of light is behind you, making sure you’re not shooting into direct sunlight.
Shooting during the day with natural light behind you will ensure the best results. Try to avoid open bulbs as this will create harsh lighting and only use flash when there is no other lighting available. Try using a white light instead of a yellow light and diffuse harsh lighting with netting.
Ring lights are
also a great investment if you’re looking to level up your photography. Before
and after photos are an excellent way to tell a story, but make sure there are
no significant lighting changes when taking pictures.
3. Angles
Make sure you’re shooting straight! Some phones do come with a built-in horizon line, so make sure this is set to 0. If you don’t have one, use visible horizontal lines in the room such as a fireplace, ceiling or windowsill – make sure these lines are straight.
If you’re taking images of skirting or other work near the floor, make sure you’re shooting down low – get on those hands and knees! For fine detail work, close ups will capture your work beautifully, especially if you shoot in portrait mode.
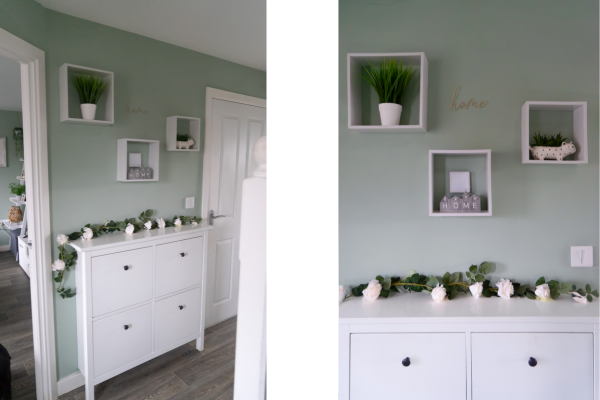
Wide shots are great for smaller spaces – think about how estate agents take images to make houses seem bigger! Get right in the corner and shoot from above.
Get creative and think about interesting angles, shooting through doorways or windows can give a really inviting feel – just make sure your work is always the focus!

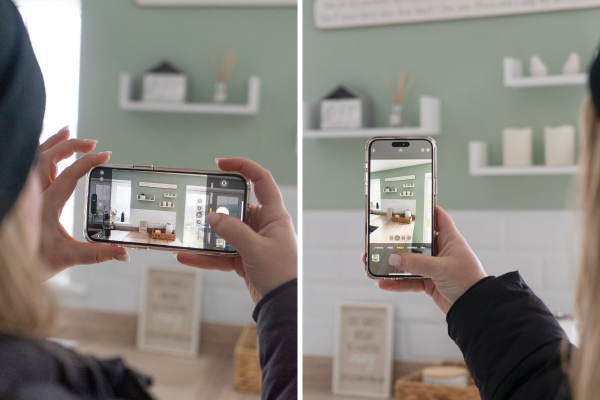
4. Aspect Ratio
Thinking about where the image will be shared is also important. Will you be sharing it on Instagram or Facebook? For example, for an Instagram story, shoot in portrait and for a grid post, you can shoot portrait or landscape…just give yourself room to crop the image down.
If you are
shooting finer details, portrait tends to work better whereas wider shots suit
a landscape orientation.
5. Editing
Once you have
taken a few shots of your work, spend some time editing them to make them look
their best. Start by cropping and straightening the picture if needed. Once
you’re happy, you can look to slightly increase the brightness or saturation of
the image to enhance and highlight the subject. Avoid using crazy filters as
this will compromise the integrity of the image. By using minor editing tools,
this will allow your customers to see your work authentically and in the best
way possible.
We can’t wait to see your future projects! Be sure to tag us @Brewerspaints.